Packing and storing fish for freezing is a skill that pays off every time I want a fresh meal without the hassle of shopping or worrying about what’s actually in store-bought fish. Getting your fish ready for the freezer is all about keeping it in top shape by stopping freezer burn, maintaining flavor, and making sure it’s safe when it’s time to eat. Through my own experience, I’ve learned that a few basic steps make a major difference in fish quality months after the catch or purchase.
QUICK LOOK: Best Methods for Freezing Your Catch
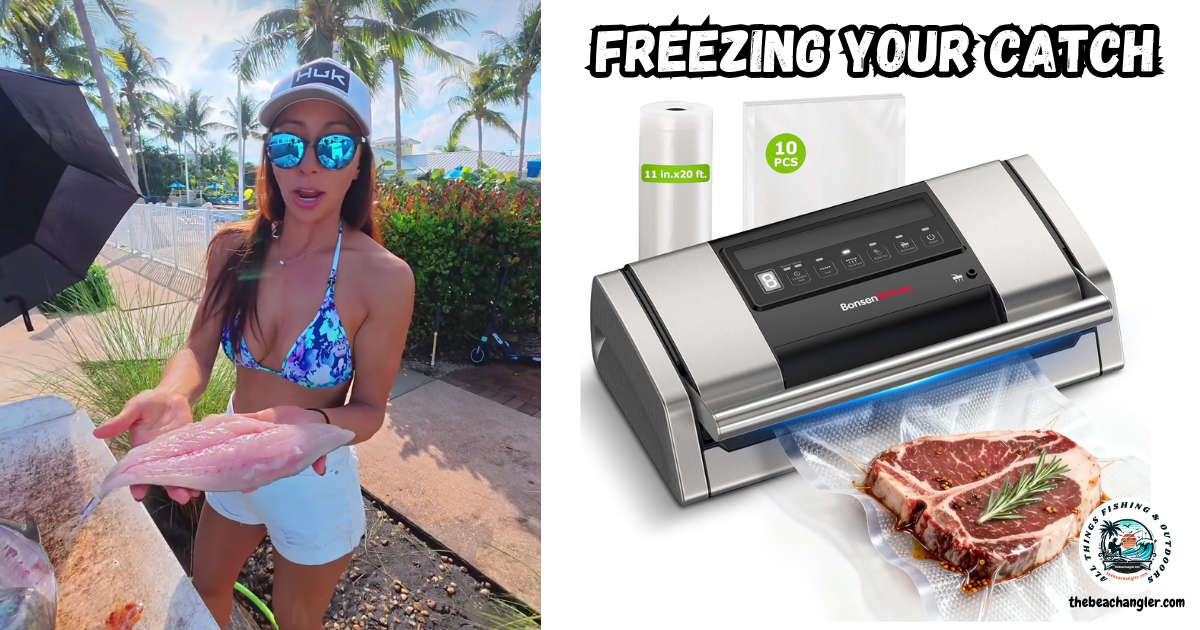
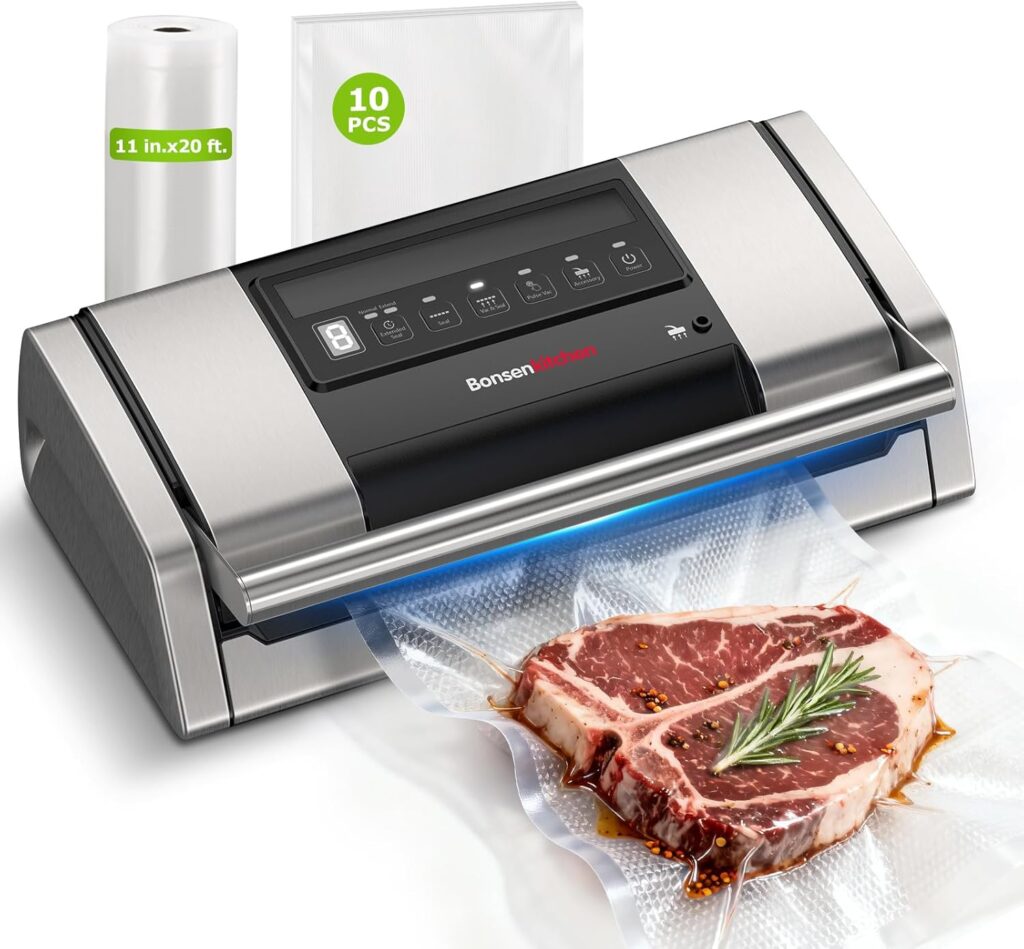
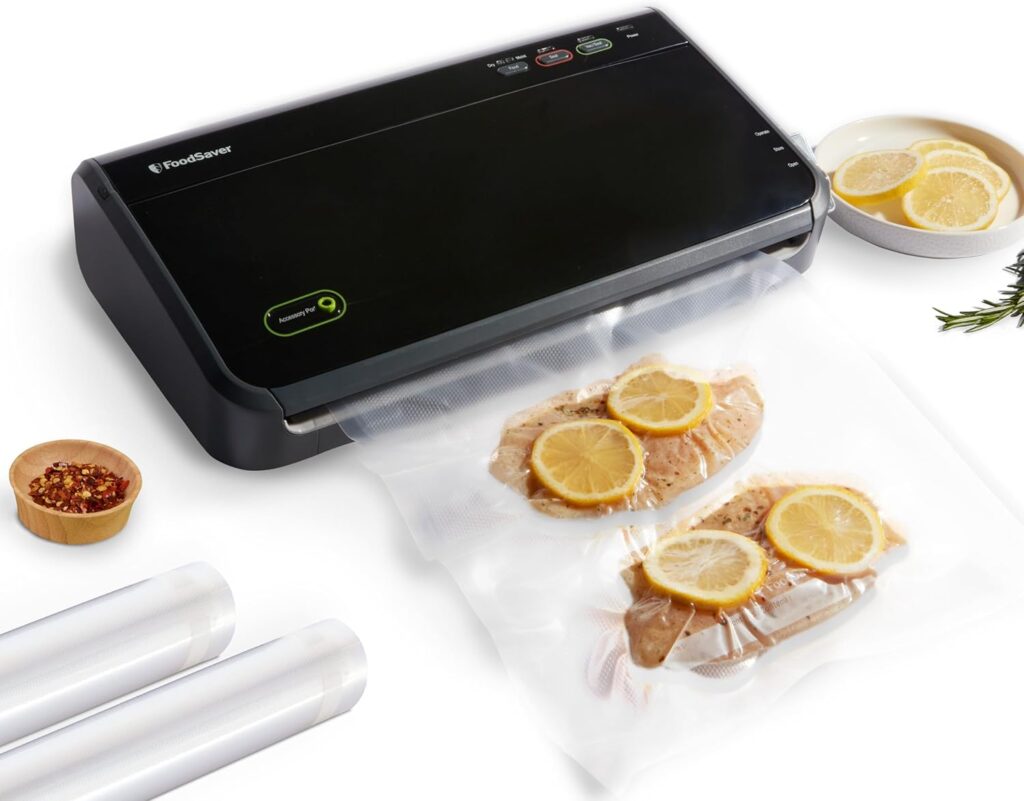
- Vacuum Sealing (Best Method): This is my go-to method when I want the best results. I dry the fillets fully, then place them in a vacuum-seal bag. Before sealing, I usually wrap the sharp pin bones in parchment paper so they don’t poke holes in the bag, then I vacuum out the air and seal it up. This method stops freezer burn best and keeps flavor true.
- Ice Glazing: For fillets or whole fish, I sometimes use the ice glaze method. I freeze the fish unwrapped on a baking sheet until it’s hard, then dip it in ice-cold water, freeze again, and repeat until there’s a thin layer (about an eighth to a quarter inch) of ice around the fish. After that, I wrap it in freezer paper or put it in a freezer bag. This is a cost-effective way to keep air out without special equipment.
- Plastic Wrap and Freezer Bags: When I don’t have a vacuum sealer, I wrap the fish tightly in plastic wrap, making sure it’s sealed right up against the fish’s surface. Then I slip the wrapped fish into a heavy-duty freezer bag, squeeze out all the air, and seal it. Adding a layer of foil or freezer paper gives extra protection and helps prevent freezer burn.
- Freezing in Water: I sometimes place fillets in a container, cover them with water, and freeze the whole thing. This protects the surface but can make fish a bit softer when thawed. I use this when there’s no other option or for lower-grade fish that’ll end up in soups or chowders.
Why Prepping Fish Properly for Freezing Matters
When I catch, buy, or prep fresh fish, I’m always thinking about how to keep it tasting as close to fresh as possible. Freezing is a great way to store fish for longer periods, but it only works well if I take the right steps before the fish hits the freezer. If I leave too much moisture on the surface or pack it poorly, ice crystals form and damage the texture, or worse, freezer burn sets in. Air is the main problem here since it makes fish dry and can create off-flavors.
Frozen fish, when prepared well, can taste almost as good as the day I first packed it. Good preservation prevents waste, saves money, and lets me meal-prep in advance. There’s nothing better than pulling a perfectly preserved fillet from the freezer on a busy weeknight and turning it into dinner.
Getting Fish Ready for the Freezer
I always start by handling the fish right after catching or buying it. The window for quality is short, and being quick gives better results. Here’s my usual process:
- Clean and Dress: I gut, scale, and trim the fish as soon as possible. Leaving fish whole too long can make the flesh soft and prone to bacteria, and that’s a headache I avoid.
- Rinse and Dry: After gutting, I rinse the fish under cold water to remove blood and any lingering scales. I make sure to pat the fish dry with paper towels, since moisture is the main culprit for bad texture and large ice crystals.
- Portion the Fish: For me, it’s easier to freeze fish close to the size I’ll use later. I cut larger fish into one-inch-thick fillets or steaks, or leave small fish whole. This way, thawing goes faster, and I avoid defrosting more than I need.
- Keep the Fish Cold: Until packing, I keep fish on ice or in the coldest spot in my fridge. This slows down bacterial growth and helps keep the best flavor and texture intact.
Some folks use pretreatment dips, which I only do for certain types of fish:
- Lean Fish (like cod or flounder): A 20-second salt brine (a quarter cup salt to one quart water) firms up the texture and adds a bit of flavor.
- Fatty Fish (like salmon or trout): A quick dip in an ascorbic acid solution (two tablespoons per quart of water) helps keep fats from turning rancid, so the taste stays bright.
It’s possible to skip dips on super fresh catches, but for store-bought or if the fish will be stored for a while, it’s worth the quick extra step.
The Best Ways to Pack Fish for the Freezer
Packing is where I pay the most attention. Air and moisture are the things you want to block to keep flavor and texture top-notch. Here’s how I usually pack my fish for freezing:
- Vacuum Sealing (Best Method): This is my go-to method when I want the best results. I dry the fillets fully, then place them in a vacuum-seal bag. Before sealing, I usually wrap the sharp pin bones in parchment paper so they don’t poke holes in the bag, then I vacuum out the air and seal it up. This method stops freezer burn best and keeps flavor true.
- Ice Glazing: For fillets or whole fish, I sometimes use the ice glaze method. I freeze the fish unwrapped on a baking sheet until it’s hard, then dip it in ice-cold water, freeze again, and repeat until there’s a thin layer (about an eighth to a quarter inch) of ice around the fish. After that, I wrap it in freezer paper or put it in a freezer bag. This is a cost-effective way to keep air out without special equipment.
- Plastic Wrap and Freezer Bags: When I don’t have a vacuum sealer, I wrap the fish tightly in plastic wrap, making sure it’s sealed right up against the fish’s surface. Then I slip the wrapped fish into a heavy-duty freezer bag, squeeze out all the air, and seal it. Adding a layer of foil or freezer paper gives extra protection and helps prevent freezer burn.
- Freezing in Water: I sometimes place fillets in a container, cover them with water, and freeze the whole thing. This protects the surface but can make fish a bit softer when thawed. I use this when there’s no other option or for lower-grade fish that’ll end up in soups or chowders.
Freezing and Long-Term Storage Tips
Once I’ve packed up the fish, I label every package with the date, fish type, and portion size. This makes it simple to keep track of what’s in the freezer and use the oldest first, which keeps flavors fresh.
I always freeze fish at 0°F (minus 18°C) or below. If I have a deep freezer, it helps hold a stable temp for months. When I put new fish in, I arrange packages in a single layer, so each one freezes fast and evenly. After that, I stack to save space.
The shelf life depends on the type of fish you’re freezing:
- Fatty Fish (like salmon, trout, or mackerel): Best when used within 3 months for top-notch flavor and texture.
- Lean Fish (like cod, haddock, or flounder): Can last up to 6 months, sometimes a bit longer, but the best taste comes from earlier use.
Freezer burn shows up as dry, grayish patches on the fish. It’s safe to eat, but the texture and taste drop off fast. Proper packaging blocks freezer burn and lets you enjoy fish just like it was caught or bought that week.
Safe Thawing and Using Frozen Fish
Thawing fish safely is just as vital as freezing. Here’s my process:
- In the Fridge: I place frozen fish on a plate or tray in the fridge. It usually takes 12 to 24 hours, depending on thickness. This method keeps fish cold and helps hold texture.
- Cold Water Method: If I’m short on time, I submerge the sealed package in a bowl of cold water and change the water every 30 minutes. Fish thaws much faster this way, but I never use warm or hot water since that could make it unsafe.
- Puncture or Remove Vacuum-Sealed Bags: I always poke a hole in the vacuum bag before thawing it in the fridge. This prevents the risk of botulism that can develop in oxygen-free bags as things thaw.
I always cook fish right after thawing. Never refreeze it, since repeated freezing and thawing ruins flavor and texture. If I notice quality slipping, I turn thawed fish into a stew or curry where the sauce masks any drop in freshness.
Common Questions I Get About Freezing Fish
People ask about freezing fish nearly every time I share frozen fillets. Here are the most popular FAQs:
Can I freeze fish straight from the store in its original packaging?
Store packaging isn’t designed for long freezer storage. I always rewrap fish myself using the steps above to prevent freezer burn and those strange flavors no one wants.
Do I have to gut and scale fish before freezing?
Absolutely. Gutting and scaling help fish avoid off odors and texture problems. Prepared fish keeps best in the freezer every time.
How do I know if my frozen fish is still good?
If the fish smells weird, shows icy buildup, or has gray-brown dry spots, it’s probably past its prime. The best-kept fish should mostly smell like the ocean, not sour or rancid.
Does freezing ruin the taste and texture?
With careful packing and a cold, steady freezer, taste and texture stay remarkably close to fresh. It’s inconsistent packaging or unchecked freezers where quality drops fast.
Extra Tips and Tricks for Freezing Fish at Home
Over time, I’ve picked up several effective strategies that make freezing and storing fish simple and dependable:
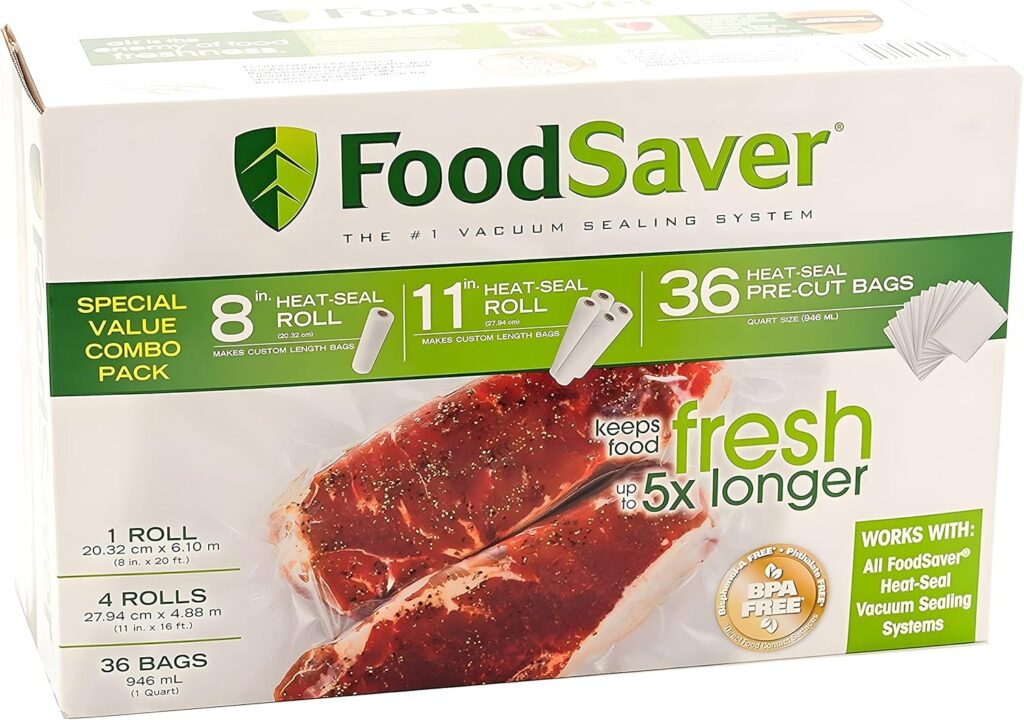
- Always use freezer-safe bags or containers. Thin plastics let in air and can cause waste quickly.
- If I catch plenty of fish, I freeze it in meal-sized batches to avoid thawing more than I’ll cook.
- I focus on eating fish within the first few months, even if some kinds last longer, because the taste is just better early on.
- I never store fish near the freezer door. The temperature changes with every open and close, add up, and can shorten freezer shelf life or increase freezer burn.
- Double-wrapping delicate fillets is a good move for top preservation. Sometimes I even wrap with parchment, then plastic to avoid damage from bones or freezer movement.
- If freezer space is tight, fillets stacked flat take up less room and freeze evenly, avoiding chunks that thaw unevenly.
With some planning and smart steps, I’ve gone entire winters eating fish that tasted almost like it was caught yesterday. The right packing and storage process keeps each fillet or steak fresh, tasty, and ready for any recipe on a whim. Having home-frozen fish is a game-changer—delicious, easy, and reliable no matter what’s at the store.
Check Out Our Most Recent Articles:
- Targeting Tarpon In The Surf

- Secrets To Finding And Catching Snook

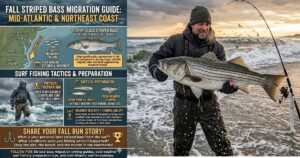
- 4 Tips for Targeting Striped Bass In The Surf
- Live Bait Vs Artificial Lures In The Surf

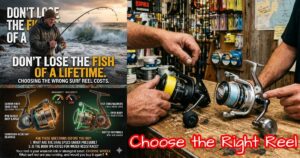
- The Reel Everyone Recommends Vs. The Reel That’s Built For Saltwater
- 5 Beach Shark Fishing Tips For Beginners

As always, stay safe, enjoy the journey, and please try to leave it cleaner than you found it. If you have any comments, questions, ideas, or suggestions, please leave them in the comment section below, and I’ll get back to you ASAP. You can follow us on Facebook: Rex The Beach Angler, Instagram: thebeachangler7, Twitter: @AnglerBeach, and YouTube: Man Art Creations.
P.S. Thanks so much for checking out our blog; we really appreciate it. Just so you know, we may receive a commission if you click on some of the links that appear on our site. This helps us keep our content free and up-to-date for everyone. We appreciate your support!

A life long surf fisherman with 50+ years of experience, I am also an avid hunter and outdoorsman. I will be sharing my passion for the outdoors with you so be prepared for hunting, fishing, camping, hiking and more. Along with gear reviews and the latest trends and innovations in the outdoor industry.