
If you’re into surf fishing, you’ve probably noticed how quickly the price of sinkers and surf weights adds up. Making my own surf weights and sinkers at home helped me cut costs and tailor my tackle exactly to my needs. I’ll show you how I make surf weights step by step, the tools I use, and share tips that made the process easier for me.
QUICK LOOK: Basics of Making Your Own Surf Weights and Sinkers
- Gather Materials First: Prepping wires, loops, and molds upfront makes the process smooth once things heat up.
- Heat Lead Safely: I make sure to go slow during heating and keep my workspace uncluttered to prevent accidents.
- Pour Carefully: A steady hand is key for a clean finish, so I pour directly into the mold cavity on a flat, stable surface.
- Recycle Scraps: Any leftover or imperfect pieces get tossed back in the pot for the next melt session.
- Label and Store: Organizing finished weights by size in marked containers saves me time before each fishing trip.
The Basics: Why Make Your Own Surf Weights?
Storebought sinkers get the job done, but making DIY surf weights lets me mix things up with size, style, and budget. Surfcasting often uses hefty weights, usually in the 4 to 12 ounce range, to lock your bait in place amid choppy currents or on a windy beach.
Instead of forking over cash for each new weight, I use scrap lead, wire, and a few tools to make my own. Plus, experimenting with shapes and features tailored for rough surf—like wireleg spider sinkers—has helped boost my catch rate and saves me money.
Learning how to safely melt and pour lead is crucial because lead fumes and splatter can be dangerous. I always work outdoors, wear gloves and goggles, and stick with dry, clean materials. That way, the job stays both fun and safe.
What You Need to Make Surf Sinkers
When I make my own surf sinkers, these are the essentials I have ready to go:
- Lead: Scrap lead is plentiful from old pipes, tire weights, or can be found as ingots. Be sure everything is bone dry to avoid splatter when melted.
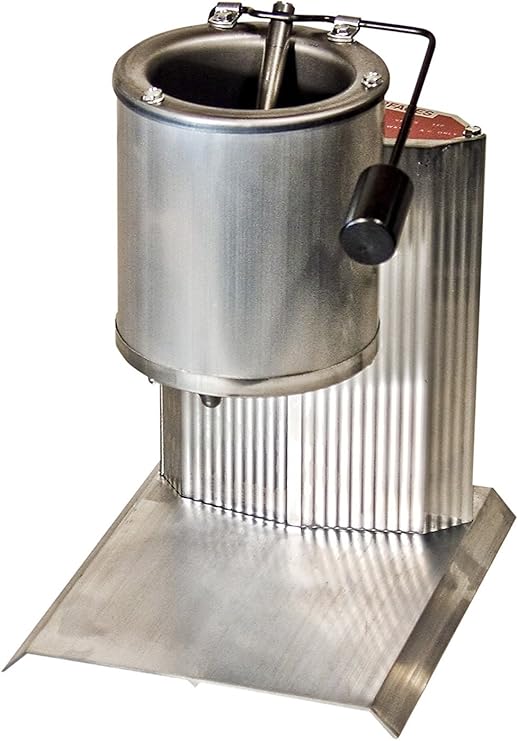
- Heat Source: I use a propane burner and a cast-iron pot or a lead melting furnace designed for fishing tackle, such as those from Lee or DoIt.
- Molds: Commercial molds make the process easy, but I have fun crafting my own using plaster of Paris, copper pipe caps, or even carved wood blocks for custom shapes and sizes.
- Wires: For spider or breakout sinkers, galvanized wire—typically 14 gauge or thicker—works well. For standard sinkers, I use coat hanger wire or brass eyelets to create sturdy loops and eyes.
- Safety Kit: Safety glasses, heavy gloves, long sleeves, long pants, and leather shoes. I avoid open-toed shoes, as molten lead and exposed skin do not mix well.
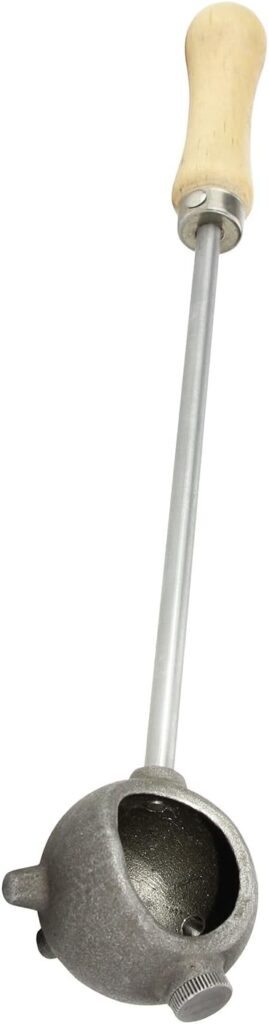
- Hand Tools: Needle-nose pliers, tin snips, and a basic ladle or spoon for pouring and skimming lead off the top as it melts.
How I Make My Own Surf Weights: Two Common Methods
Method 1: Spider or Sputnik Weights (Breakout Sinkers)
Spider weights dig into the sand with wire legs, making them perfect for strong wave action. My method looks like this:
- Cut and Shape the Legs: I cut 4 or 6 pieces of 14-gauge galvanized wire and bend each one in half using pliers, shaping a sharp bend for anchoring inside the mold.
- Prep the Mold: I use a copper pipe cap with drilled holes for the legs or a homemade plaster mold. Bent wires are inserted with the central bend placed inside and legs sticking outward.
- Melt and Pour Lead: I always melt lead outside. When the lead is liquid and impurities are skimmed off, I pour slowly into the mold so the wire legs get locked in place inside the weight.
- Cool, Remove, and Finish: Once cooled for a few minutes, I take the weight out. With pliers, I bend out the legs so they grip the sand better, sometimes adding a twist at the ends for extra hold.
Method 2: Molded Pyramid or Bank Weights
For standard weights, I rely on pyramid, bank, or round molds. Here’s my process:
- Prep the Mold and Wire Loops: Tough aluminum molds from brands like DoIt last years, but DIY versions using plaster of Paris work as well. I prebend wire or paperclips as loops and place them in the mold cavity before pouring.
- Melt Lead: Scrap lead goes in a production pot or on the propane burner and melts in several minutes. I always skim off the junk that rises to the top.
- Pour and Cool: Pouring steadily helps avoid air gaps. The weights set up and harden quickly.
- Remove, Trim, and Smooth: I take the weights out once they’re solid. Any rough edges from the mold seams are clipped with snips and tossed back into the pot for reuse.
Safety Tips I Never Skip When Melting Lead
Working with molten lead gets dangerous if you don’t pay attention. Here are my safety nonnegotiables:
- I set up my station well away from kids and pets, and always work outdoors.
- Wearing goggles, gloves, and long sleeves protects my skin and eyes from lead splatters.
- I keep a bucket of cold water nearby, for emergency use only—never for dunking hot metal.
- I only handle lead with dry hands; any moisture becomes instant steam and causes splattering.
- After the job, I wash my hands thoroughly and never eat or drink while working with lead.
Taking these steps seriously helps ensure that making surf weights stays enjoyable and safe every time.
Quick Steps for DIY Surf Weight Success
- Gather Materials First: Prepping wires, loops, and molds upfront makes the process smooth once things heat up.
- Heat Lead Safely: I make sure to go slow during heating and keep my workspace uncluttered to prevent accidents.
- Pour Carefully: A steady hand is key for a clean finish, so I pour directly into the mold cavity on a flat, stable surface.
- Recycle Scraps: Any leftover or imperfect pieces get tossed back in the pot for the next melt session.
- Label and Store: Organizing finished weights by size in marked containers saves me time before each fishing trip.
Helpful Gear for Beginners Making Sinkers
Some tools really boosted my surf sinker hobby and made my process easier:
- Lead Melting Pots: The Lee Production Pot includes a spout for safer, controlled pouring.
- Sinker Molds: DoIt and Hilts supply sturdy aluminum molds in various shapes. For specialized or experimental forms, homemade plaster or wood molds do the job.
- Precut Wire: Galvanized wire in spools or purchased premade wire forms speed up assembly and make things easier to handle, especially for spider weights.
Having tools dedicated to the task means fewer spills and neater results, especially when I’m making a batch for the whole fishing season.

Common Questions About Making Surf Weights
Here are some questions friends have asked after watching my process for homemade sinkers:
Can I use anything else besides lead?
Lead remains the go-to for most surfcasters because it’s heavy and melts easily. Some folks experiment with concrete, steel, or brass, but they don’t sink as well for their size and grip the bottom less effectively.
How do I know what size sinker I need?
I try a range between 4 and 12 ounces, picking heavier weights for rough surf to keep my bait from drifting. On calmer days, lighter weights work, allowing for longer casts.
What if my weights come out with rough edges or holes?
That’s usually from a cold mold or a hasty pour. Preheating the mold and pouring gently ensures the lead flows evenly. Any leftover rough spots get smoothed before fishing.
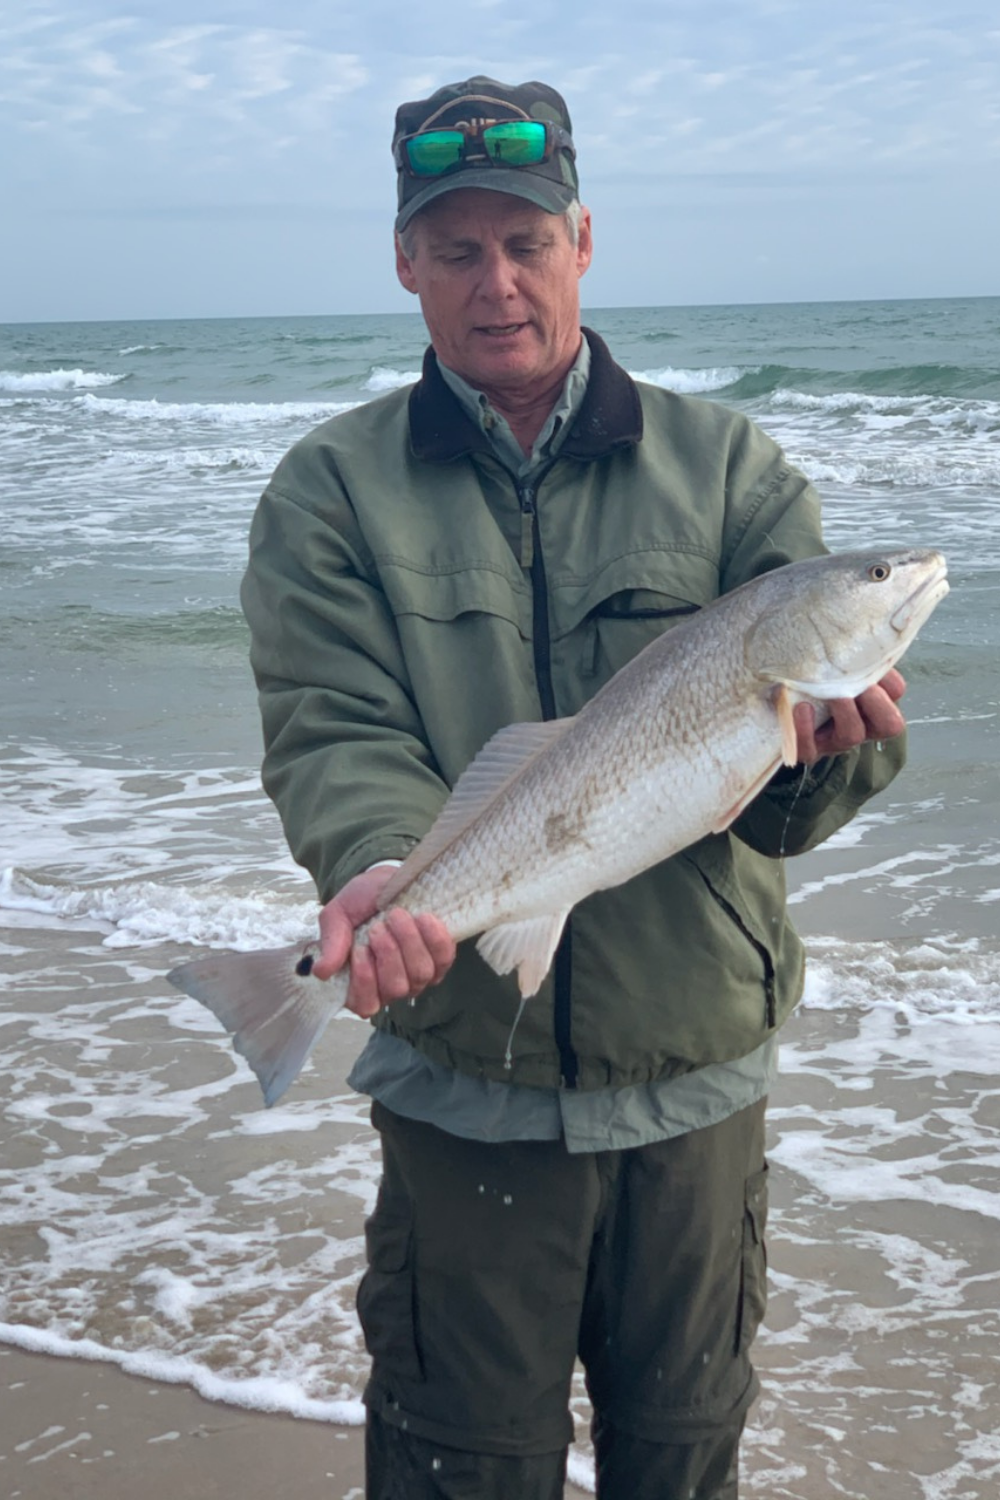
Using Homemade Surf Sinkers in Real-World Fishing
I’ve been crafting my own surf sinkers for several seasons, and it has paid off with big savings and more versatility on the water. Depending on the conditions, I mix things up—spider weights with wire legs for serious surf or classic pyramid shapes for longer, smoother casts on calm days.
Sharing extras with fishing buddies means we all spend more time casting and less time worrying about lost tackle. The DIY approach gives me freedom, builds confidence, and makes every trip to the beach that much more enjoyable.
Check Out Our Most Recent Articles:
- Why Is Surf Fishing Popular?

- Why Do Anglers Use Different Types Of Fishing Lines For Saltwater Fishing?
- Why Are Tides Important In Surf Fishing?

- Understanding Fish Behavior To Improve Your Fishing

- How To Choose The Right Reel For Saltwater Fishing
- Emerging Trends In Saltwater Fly Fishing

As always, stay safe, enjoy the journey, and please try to leave it cleaner than you found it. If you have any comments, questions, ideas, or suggestions, please leave them in the comment section below, and I’ll get back to you ASAP. You can follow us on Facebook: Rex The Beach Angler, Instagram: thebeachangler7, Twitter: @AnglerBeach, and YouTube: Man Art Creations.
P.S. Thanks so much for checking out our blog; we really appreciate it. Just so you know, we may receive a commission if you click on some of the links that appear on our site. This helps us keep our content free and up-to-date for everyone. We appreciate your support!

A life long surf fisherman with 50+ years of experience, I am also an avid hunter and outdoorsman. I will be sharing my passion for the outdoors with you so be prepared for hunting, fishing, camping, hiking and more. Along with gear reviews and the latest trends and innovations in the outdoor industry.