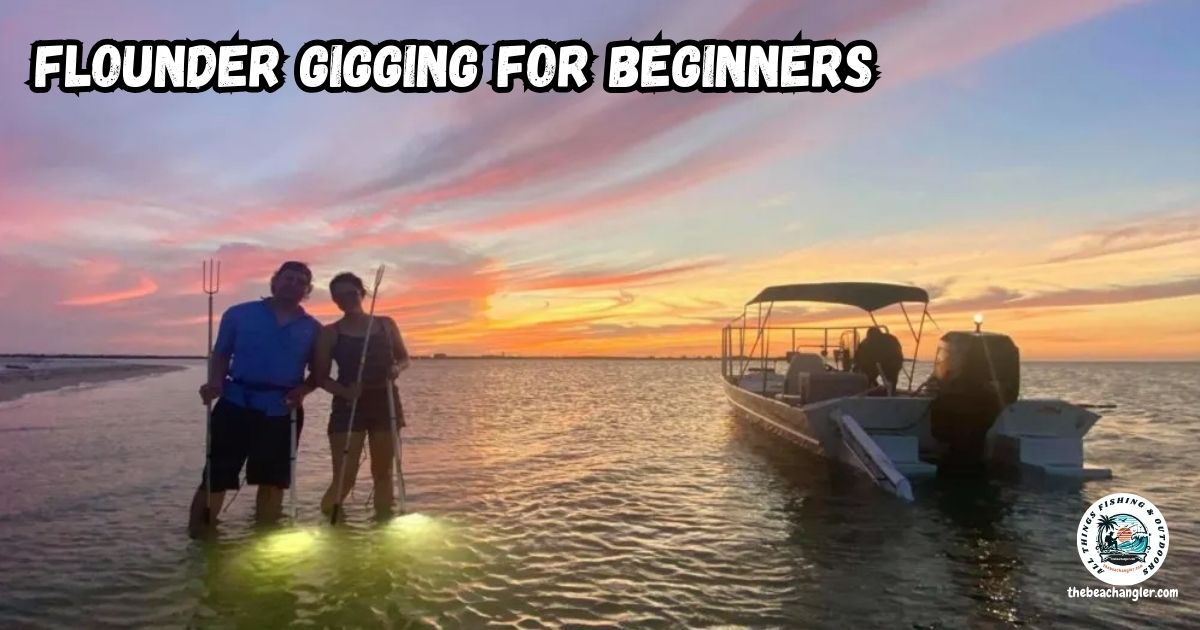
Flounder gigging might seem intimidating at first, but with some practice and the right approach, I find it to be one of the most rewarding coastal fishing experiences out there. Starting is easiest when you break down the core ideas and find a game plan that works with your local waters.
QUICK LOOK: Basic Flounder Gigging Techniques
- Move Slowly: Flounder are easily spooked by noise and wake. I walk at a slow pace, shuffle my feet, and avoid sudden movements. In a boat, keeping the motor off or idle and using a paddle helps keep things quiet.
- Sweep the Bottom: I keep my light a foot or two above the water, sweeping side to side in a consistent motion. I’m looking for a faint outline, sometimes just the shape of the eyes or a shadow where the body is buried. The more I practice, the easier it becomes to spot the subtle differences between a flounder and the surrounding bottom.
- Spotting the Fish: The first thing I notice is often the pair of reflective eyes, followed by the flattened body outline. Sometimes only the tail is showing, so I double-check odd shapes or bumps in the sand.
- Aiming with the Gig: Once I’m sure I see a flounder, I line up the gig right behind the head, above the gills. This gives me the best shot at quickly and humanely landing the fish. I always check that my footing is stable before striking, then push the gig firmly and cleanly through the fish. Stability is crucial—rushing can result in a missed fish and lost gig.
- Securing the Catch: After spearing the flounder, I keep the pressure on the gig and quickly reach down to pinch behind the head. Flipping the flounder upside down makes it go limp, which helps with removing it and threading it onto my stringer.
- Approaching from Downstream: When possible, I approach likely spots from downstream, as flounder often face into the current when feeding. This makes me less likely to spook them as I move in for a closer look.
In this guide, I’m going to share step-by-step techniques, gear tips, and the practical know-how that got me hooked on gigging for flounder as a beginner. As you get into gigging, keep in mind that patience and a keen eye truly make all the difference—especially on your first few trips.
Gear Essentials for the New Flounder Gigger
The right gear makes getting started with flounder gigging much easier and safer. My first time out, I realized how having the proper equipment helps avoid frustration and missed opportunities. Here are the items that I always bring with me when heading out to gig flounder:
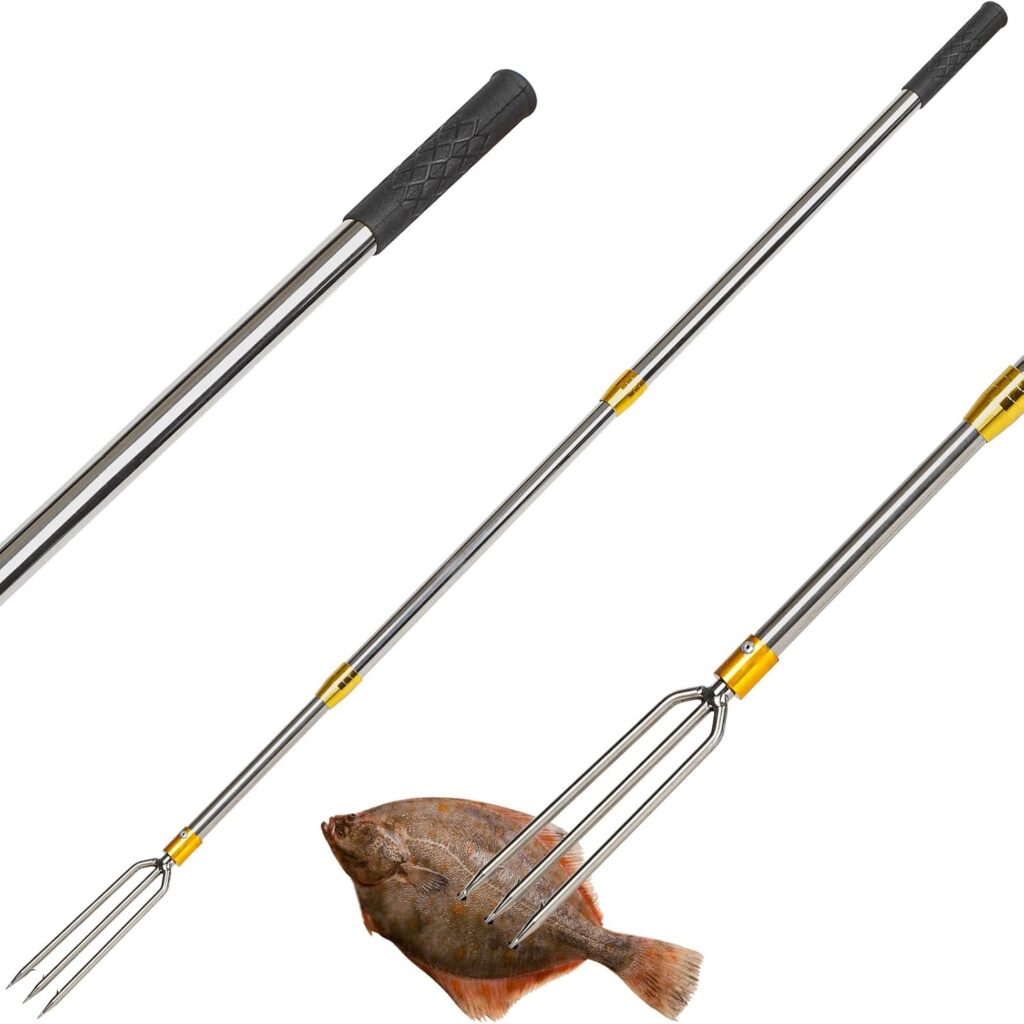
- Flounder Gig: I use a sturdy pole with a heavy-duty multipronged tip designed for flounder. Some beginners start with a single-prong gig, but a multiprong usually offers a better chance of landing the fish once speared.
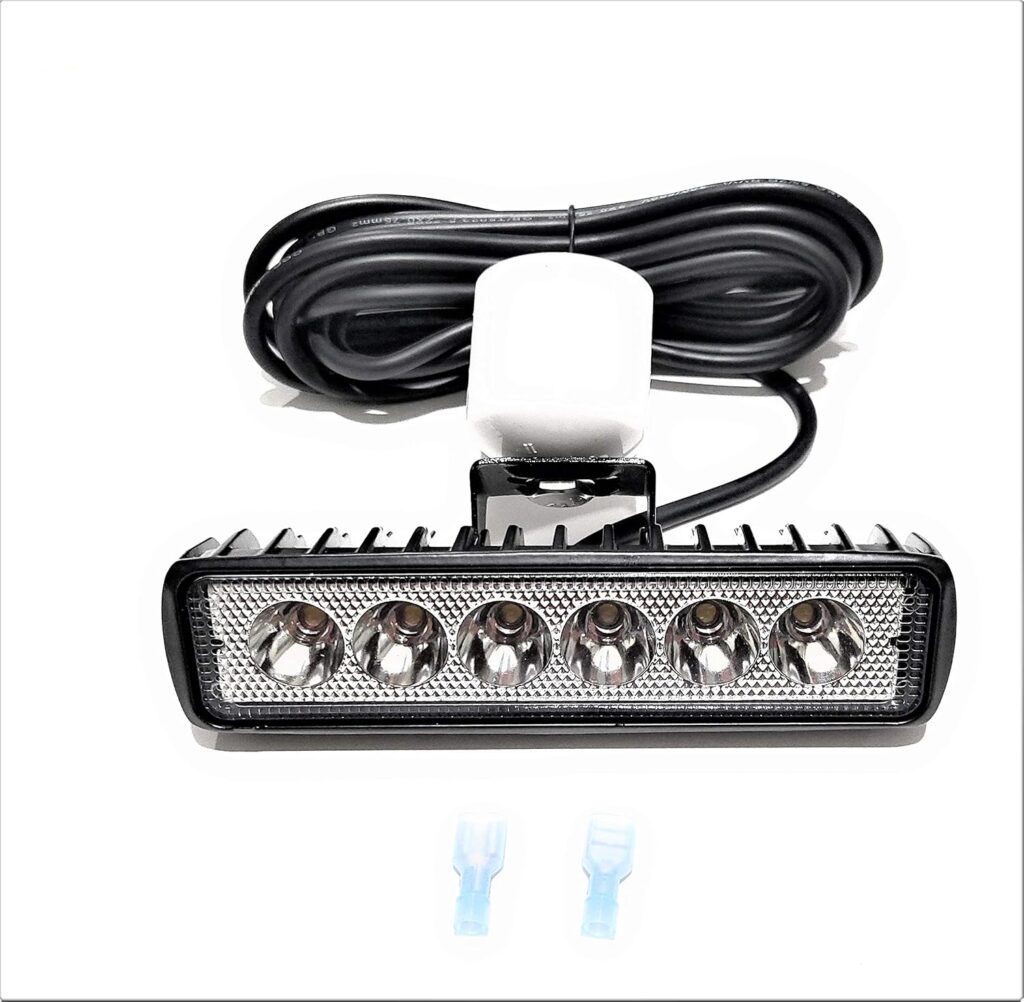
- Gigging Light: A bright, waterproof LED light is what I rely on to spot flounder against the sandy or muddy bottom. Handheld, headlamp, or boat-mounted options all work; just make sure the light has a strong beam and a decent battery life.
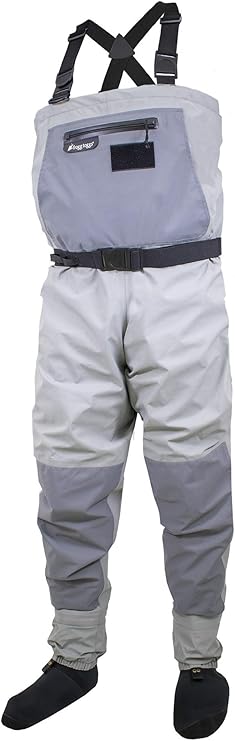
- Waders or Waterproof Boots: If I’m wading, waterproof waders or sturdy boots let me keep my feet protected from sharp debris, oyster shells, or even stingrays. Closed-toed shoes with hard soles also provide a solid footing on slippery or uneven terrain.
- Gloves: Gloves help me grip the gig and handle flounder securely once caught, and they offer good protection for my hands.
- Ruler or Measuring Stick: Regulations require certain size limits, so I bring a waterproof ruler to check the length of each flounder before keeping it. This makes sure I stay within the rules and respect the local fishery.
- Stringer or Cooler: I use a stringer attached to my belt for convenience, but a small cooler also works if I have it nearby. Either way, it’s the only way to keep the fish fresh while still out gigging.
- Bug Spray: Mosquitos can be tough at night, so I never forget bug spray.
- Backup Batteries: Especially on long nights, I always pack extra batteries for my light. There’s nothing worse than being far from the truck when your main light runs out of juice.
- First Aid Kit: A small first aid kit can be a real help in case you scrape your hand on a sharp object or get stuck by an errant prong. I keep one handy for peace of mind.
Best Locations and Times for Flounder Gigging
Choosing the right spot and timing my trip right made a big difference in the number of flounder I was able to find. Here are the factors I pay the most attention to:
Clear Water: Flounder are camouflaged experts, blending with the bottom. If water clarity is low, spotting them becomes nearly impossible. I always look for nights after calm weather and avoid gigging after winds have stirred up sediment. Ask local anglers or bait shops for recommendations on the clearest flats in your area—they often know where the best visibility can be found after storms.
Shallow Flats: Mud or sand flats are my favorite target areas. Flounder come here to bury themselves and ambush baitfish. I prefer flats adjacent to deeper channels, as flounder move in and out with the tides. Rocky points can also hold flounder, especially where bait is plentiful.
Timing: Nighttime is when most flounder giggers, including me, get the best results. Flounder ride the incoming tide into the shallows to feed, and are easier to spot when the water is calm. I focus on the latter half of a rising tide or during slack tide because both improve visibility and hold more fish in accessible areas.
Migration Season: In places like Texas, the flounder run peaks in fall. These migration periods draw huge numbers of flounder into the shallows, which increases the odds for beginners. Talk with local experts to know the exact windows for your location.
Manmade Structures: Docks, piers, and jetties often create good habitat for flounder—they attract baitfish and offer both cover and concentration. When flats aren’t holding fish, I often check around these structures for hidden flounder.
Basic Flounder Gigging Techniques
Technique is everything in flounder gigging. Here’s how I started, and what I still rely on each trip:
- Move Slowly: Flounder are easily spooked by noise and wake. I walk at a slow pace, shuffle my feet, and avoid sudden movements. In a boat, keeping the motor off or idle and using a paddle helps keep things quiet.
- Sweep the Bottom: I keep my light a foot or two above the water, sweeping side to side in a consistent motion. I’m looking for a faint outline, sometimes just the shape of the eyes or a shadow where the body is buried. The more I practice, the easier it becomes to spot the subtle differences between a flounder and the surrounding bottom.
- Spotting the Fish: The first thing I notice is often the pair of reflective eyes, followed by the flattened body outline. Sometimes only the tail is showing, so I double-check odd shapes or bumps in the sand.
- Aiming with the Gig: Once I’m sure I see a flounder, I line up the gig right behind the head, above the gills. This gives me the best shot at quickly and humanely landing the fish. I always check that my footing is stable before striking, then push the gig firmly and cleanly through the fish. Stability is crucial—rushing can result in a missed fish and lost gig.
- Securing the Catch: After spearing the flounder, I keep the pressure on the gig and quickly reach down to pinch behind the head. Flipping the flounder upside down makes it go limp, which helps with removing it and threading it onto my stringer.
- Approaching from Downstream: When possible, I approach likely spots from downstream, as flounder often face into the current when feeding. This makes me less likely to spook them as I move in for a closer look.
Wading vs. Boating: Which Method Is Best?
I started gigging by wading, and I still prefer it for how close I can get to the action. Wading gives me access to shallower areas and lets me move quietly along the shoreline, flats, and around structure. I also feel more in control of my light and can explore tighter spaces around marsh edges or islands.
If you are new, starting on foot is often less expensive and gives you more control, especially in narrower bays or marshes. Boating, on the other hand, allowed me to cover more ground once I learned the basics. If I use a boat, I look for one with a flat, shallow draft hull that can float in skinny water.
The right setup helps when checking multiple spots in one night, and someone at the helm can control the light direction while I gig from the bow. Some seasoned giggers mount extra lights on a rail at the front of their boats for an even wider field of view. Regardless of the method, always respect other anglers and give them plenty of space on the water.
Safety Tips for Beginners
Safety is super important, especially because flounder gigging happens at night in unfamiliar areas. Here’s how I keep myself (and my gear) safe:
- Watch for Stingrays: I always shuffle my feet to avoid accidentally stepping on a stingray. Stingray stings are painful and can end a night fast.
- Check Depth Regularly: Wading into unexpected drop-offs is risky. I use my gig or paddle to test the bottom ahead and adjust my route if the water suddenly deepens.
- Use Reliable Lighting: Adequate lighting keeps me from tripping, helps spot fish, and makes me visible to others. Carrying a backup light can save a trip if my main light fails.
- Never Go Alone: I bring a partner whenever possible. They can spot hazards I miss, help land large flounder, and assist in an emergency.
- Mark Your Entry Point: When exploring new areas, I mark my entry point with a reflective beacon or a landmark to make it easier to find my way back, especially as fog or darkness deepens.
Common Challenges and How I Handle Them
Every trip brings a new set of challenges. Here’s how I deal with common obstacles:
- Murky Water: When wind or tide muddies things up, I stick to protected coves or channels with better clarity, or I postpone my trip. Sometimes, checking tide charts to pick more favorable times pays off.
- No Flounder Spotted: If I go a while without seeing any, I move to a different flat or closer to tidal inflows, current lines, or lighted docks, which sometimes attract flounder and baitfish.
- Tired Arms or Legs: Starting out, I took frequent breaks to avoid fatigue, and I invested in lighter gear as I got more hooked on the sport.
- Following Regulations: I always check local rules before I go. Limits and size regulations can change by area and season. Not knowing the regulations doesn’t excuse breaking the law, and it’s the best way to keep the fishery healthy.
- Coastal Wildlife: Sometimes, unexpected encounters with crabs, jellyfish, or even the occasional snake can happen. I keep a careful watch for movement in the water and use my light to scan the area ahead at all times.
Real-World Flounder Gigging Scenarios
The first trip I made was to a sheltered mud flat near an inlet. I went with a more experienced friend who knew the best spots to set up when the tide was creeping in. Within an hour, I learned how the distinct eye patterns of a hidden flounder pop into focus once I slowed down enough.
Later, when we used a small boat to explore a distant shoreline, I noticed how much easier it was with two people. Having someone handle the light while I concentrated on spotting made a huge difference in my catch rate. In both cases, patience and observation seemed to be just as important as gear or skill.
On another night, I tried a new part of the bay and didn’t see a single fish at first—but after switching up locations as the tide changed, I stumbled upon several flounder near a patch of submerged grass. That taught me to keep searching and never give up too soon.
Frequently Asked Questions
Is flounder gigging legal in all states?
Flounder gigging is legal in some coastal states but comes with strict regulations. I always check local fishing laws regarding seasons, allowable gear, and size or bag limits before going out. State wildlife or fisheries departments often have this info online.
How deep should I expect to be when gigging for flounder?
Most of the time, I’m in water anywhere from ankle to waist deep. If the area’s deeper, I usually move closer to shore or find a shallower flat where flounder are easier to spot and reach.
Can gigging gear be homemade, or does it need to be store-bought?
Homemade gigs work if they are sturdy and have sharp prongs. I know plenty of anglers who make their own. However, I prefer the reliability and rust resistance of commercial gigs, especially those made for saltwater environments.
Extra Tips for Improving Your Flounder Gigging Success
Practice Spotting: I spent some time walking shallow flats during the day, looking for flounder with polarized sunglasses. It helped me recognize the subtle outlines and body shapes at night. The more time you spend checking out flounder in daylight, the more confident you’ll feel after dark.
Check Tides and Weather Beforehand: Planning my trip around calm winds and the right tide conditions increased how often I saw—and caught—flounder. Cloud cover can affect the light quality, so picking clear nights can give your gigging light more reach.
Be Patient: Sometimes, it takes moving through a few empty flats before landing that first flounder. Staying patient and observant always pays off. Carefully watching for faint outlines or movement lets you spot flounder even when they are buried almost entirely out of sight.
Keep a Record: I keep a simple fishing log of location, tide, moon phase, weather, and the number and size of flounder taken. Over time, these notes helped spot patterns and improve my chances on future trips. Noting when and where I stumbled upon flounder helps create a personal hotspot list.
The simple combination of solid gear, steady technique, and a careful eye for detail has made gigging for flounder an enjoyable tradition for me and plenty of other beginners. With a little patience and practice, you can expect your first successful catches sooner than you think. There’s something special about seeing a flounder materialize out of the sand and making a clean, skillful gig—so get out there, stay sharp, and enjoy every minute on the water!
Check Out Our Most Recent Articles:
- The Shimano Socorro SW Spinning Reel
- Daiwa Sealine Surf Rod Review
- The Shimano Saragosa SW Spinning Reel
- Daiwa SOL MQ Spinning Reels
- Shimano NASCI Spinning Reel Review
- Daiwa Beefstik Surf Rods
As always, stay safe, enjoy the journey, and please try to leave it cleaner than you found it. If you have any comments, questions, ideas, or suggestions, please leave them in the comment section below, and I’ll get back to you ASAP. You can follow us on Facebook: Rex The Beach Angler, Instagram: thebeachangler7, Twitter: @AnglerBeach, and YouTube: Man Art Creations.
P.S. Thanks so much for checking out our blog; we really appreciate it. Just so you know, we may receive a commission if you click on some of the links that appear on our site. This helps us keep our content free and up-to-date for everyone. We appreciate your support!

A life long surf fisherman with 50+ years of experience, I am also an avid hunter and outdoorsman. I will be sharing my passion for the outdoors with you so be prepared for hunting, fishing, camping, hiking and more. Along with gear reviews and the latest trends and innovations in the outdoor industry.